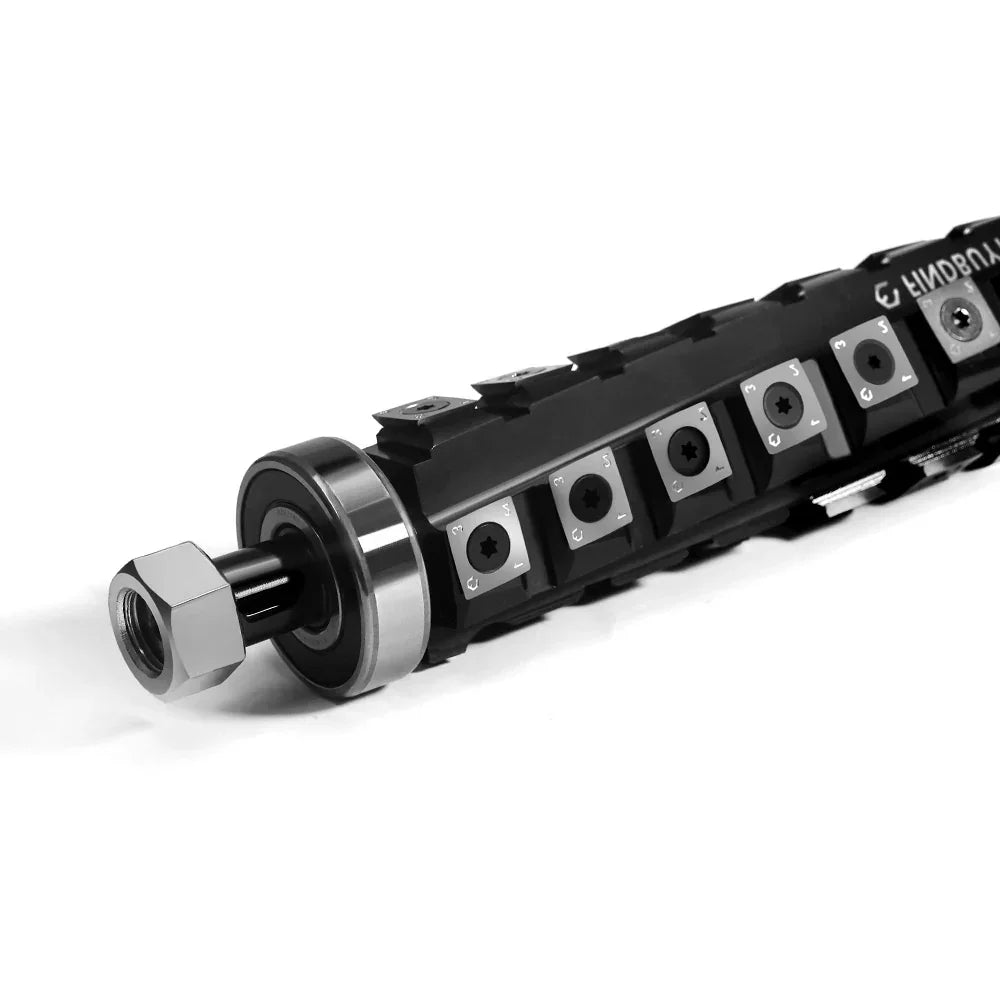
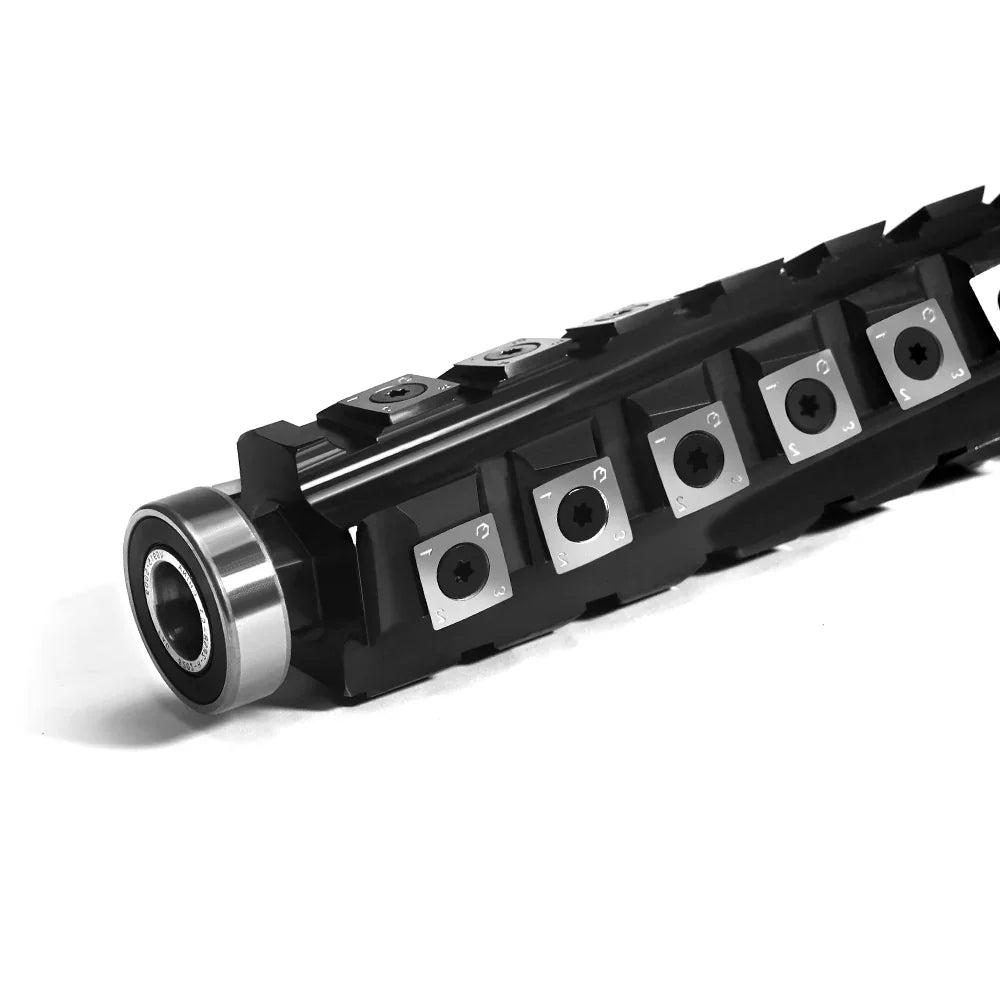
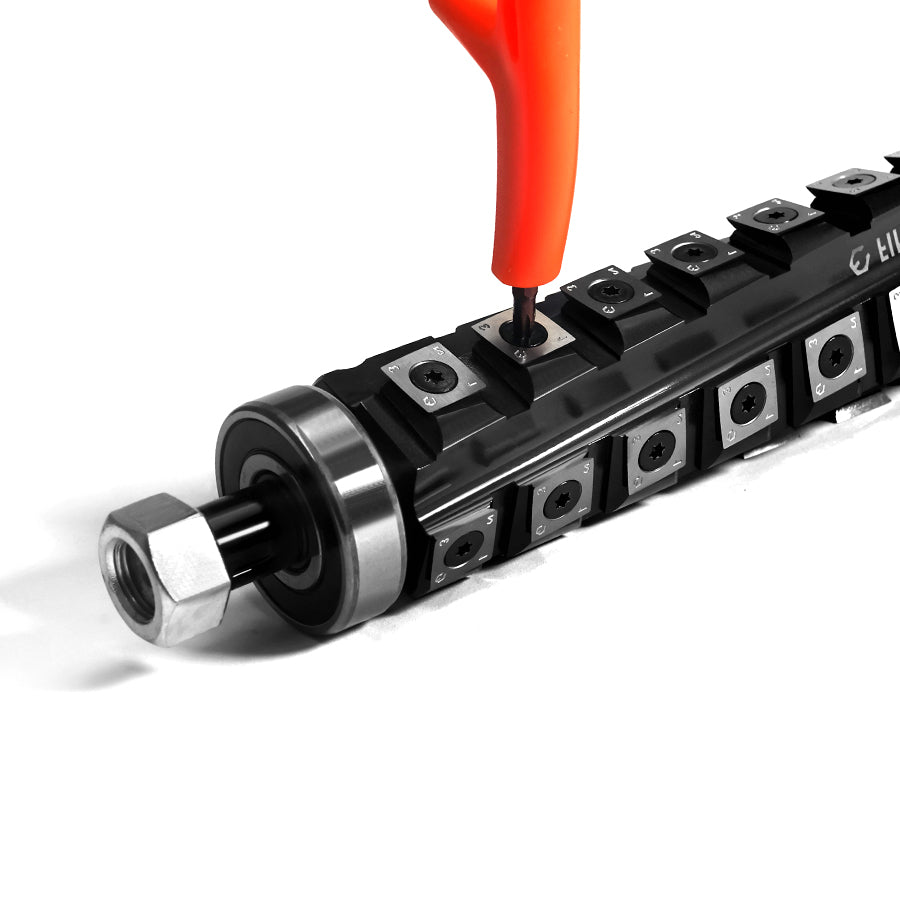
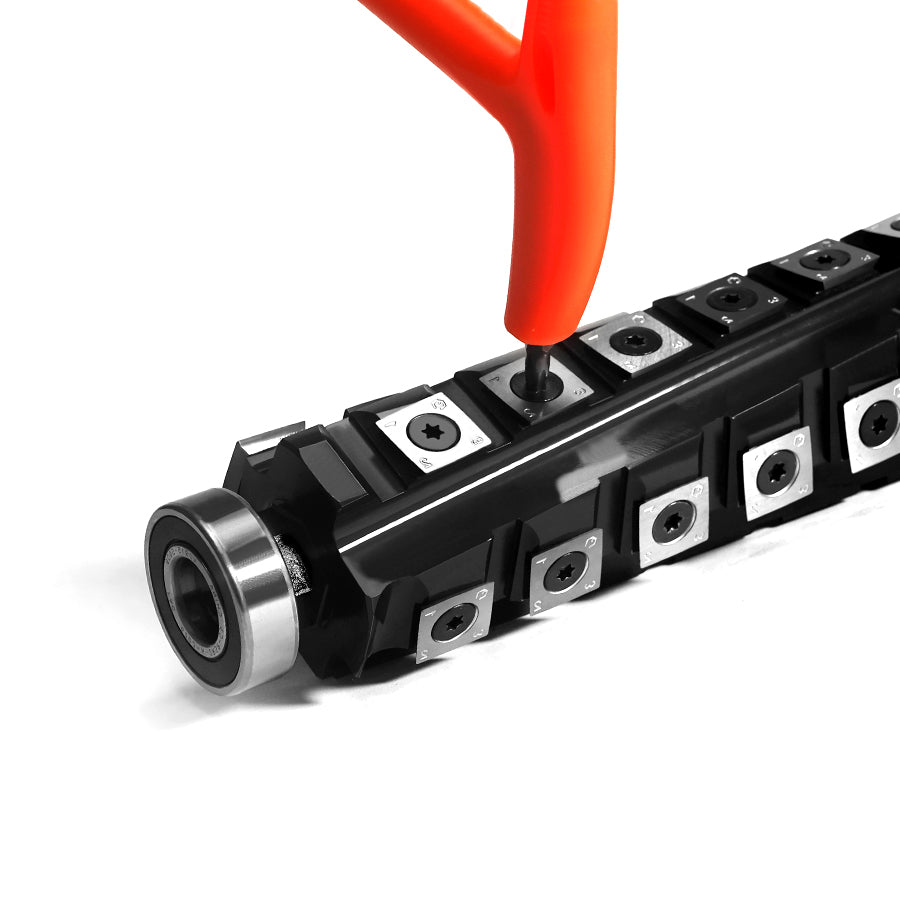
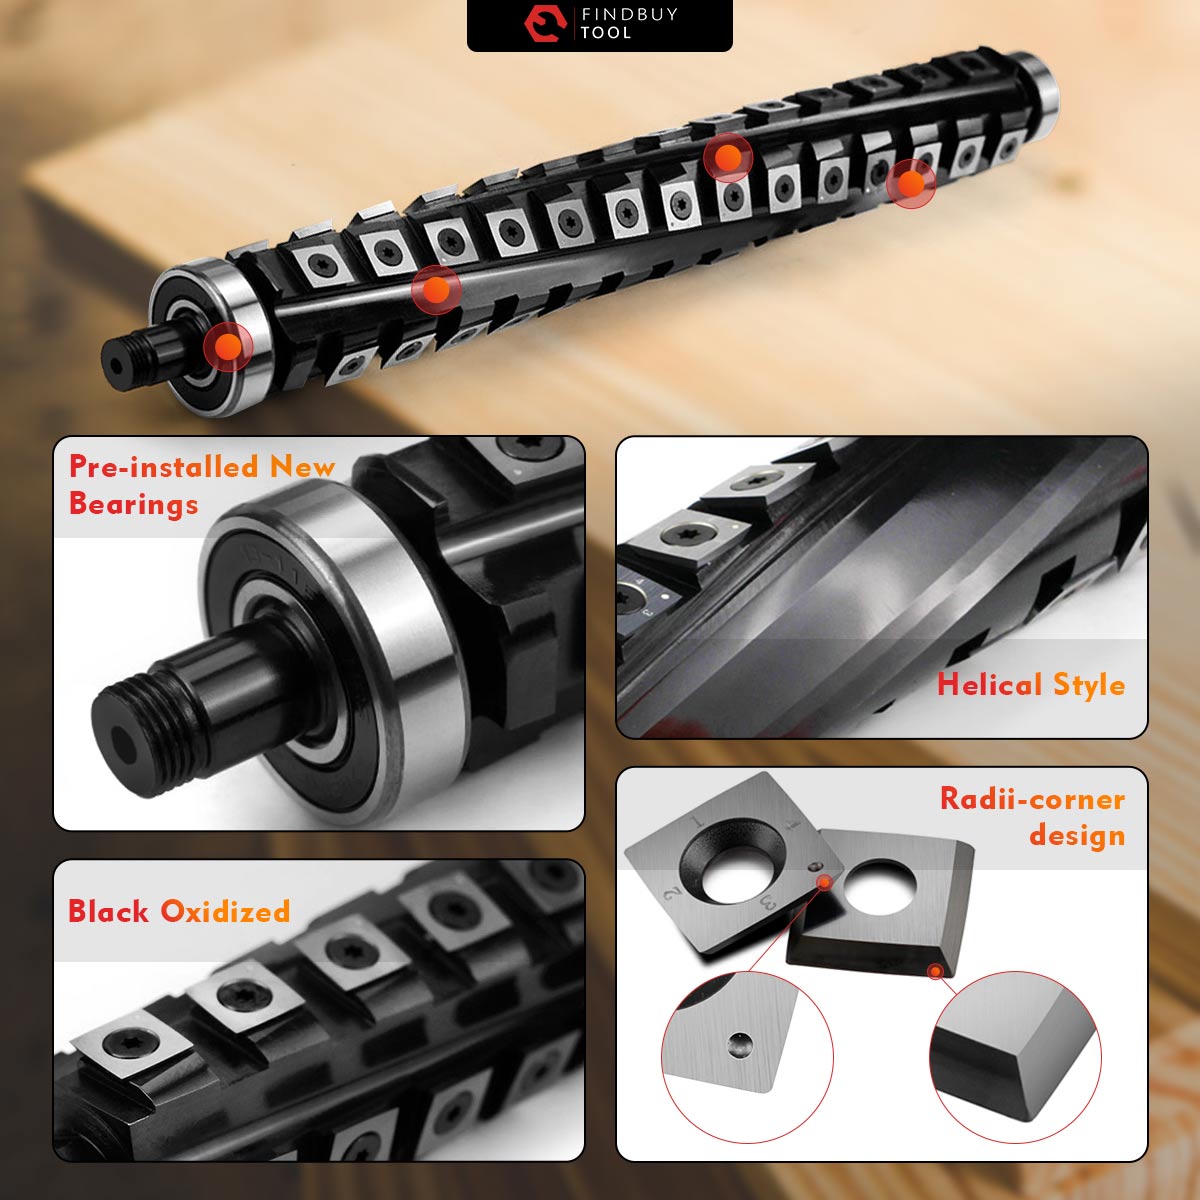
Helical Cutterhead for DeWalt DW735/DW735X/DW735-XE Thickness Planer, 4 Rows
FREE Shipping & Tax-Free at checkout
Smoother Cuts, Less Sanding
Quieter, Smoother Operation
Reduces Snipe and Tear-out
10X Longer-Lasting Blades
Helical Cutterhead for DeWalt DW735/DW735X/DW735-XE Thickness Planer, 4 Rows - 13-inch Helical Cutterhead is backordered and will ship as soon as it is back in stock.
Couldn't load pickup availability
 Fast and Free Shipping in 3–5 Days
 Fast and Free Shipping in 3–5 Days
With local warehouses in California, Sydney, London, and Europe, we ship within 1–2 days and deliver to your door within 3–5 days. And 3-15 days delivery for other global orders. Learn More
 30-Day Money-Back Guarantee
 30-Day Money-Back Guarantee
You can return a Findbuytool product which states that it comes with a 30 day money back guarantee within 30 days for a full refund for any manufacturer defects or product quality issues.
 3 Year Limited Warranty
 3 Year Limited Warranty
We offer a 3 year warranty for quality-related issues and lifetime technical guidance from the date of purchase for FindBuyTool helical cutterhead. Learn More.
 Tax-Free Pricing
 Tax-Free Pricing
No extra charges at checkout—what you see is what you pay. All taxes are already included in the price. Shop and save now.
Payment & Security
Your payment information is processed securely. We do not store credit card details nor have access to your credit card information.
Trusted Delivery
- Description
- Spec
- Influencers
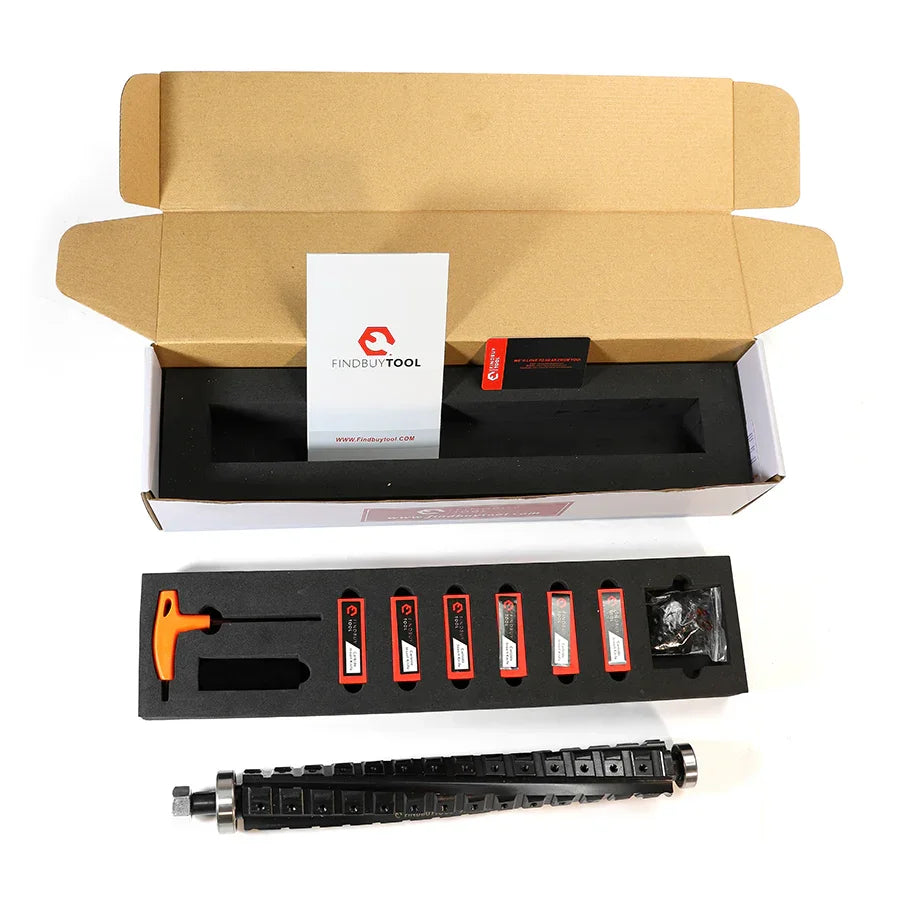
- What’s In The Box
- Review

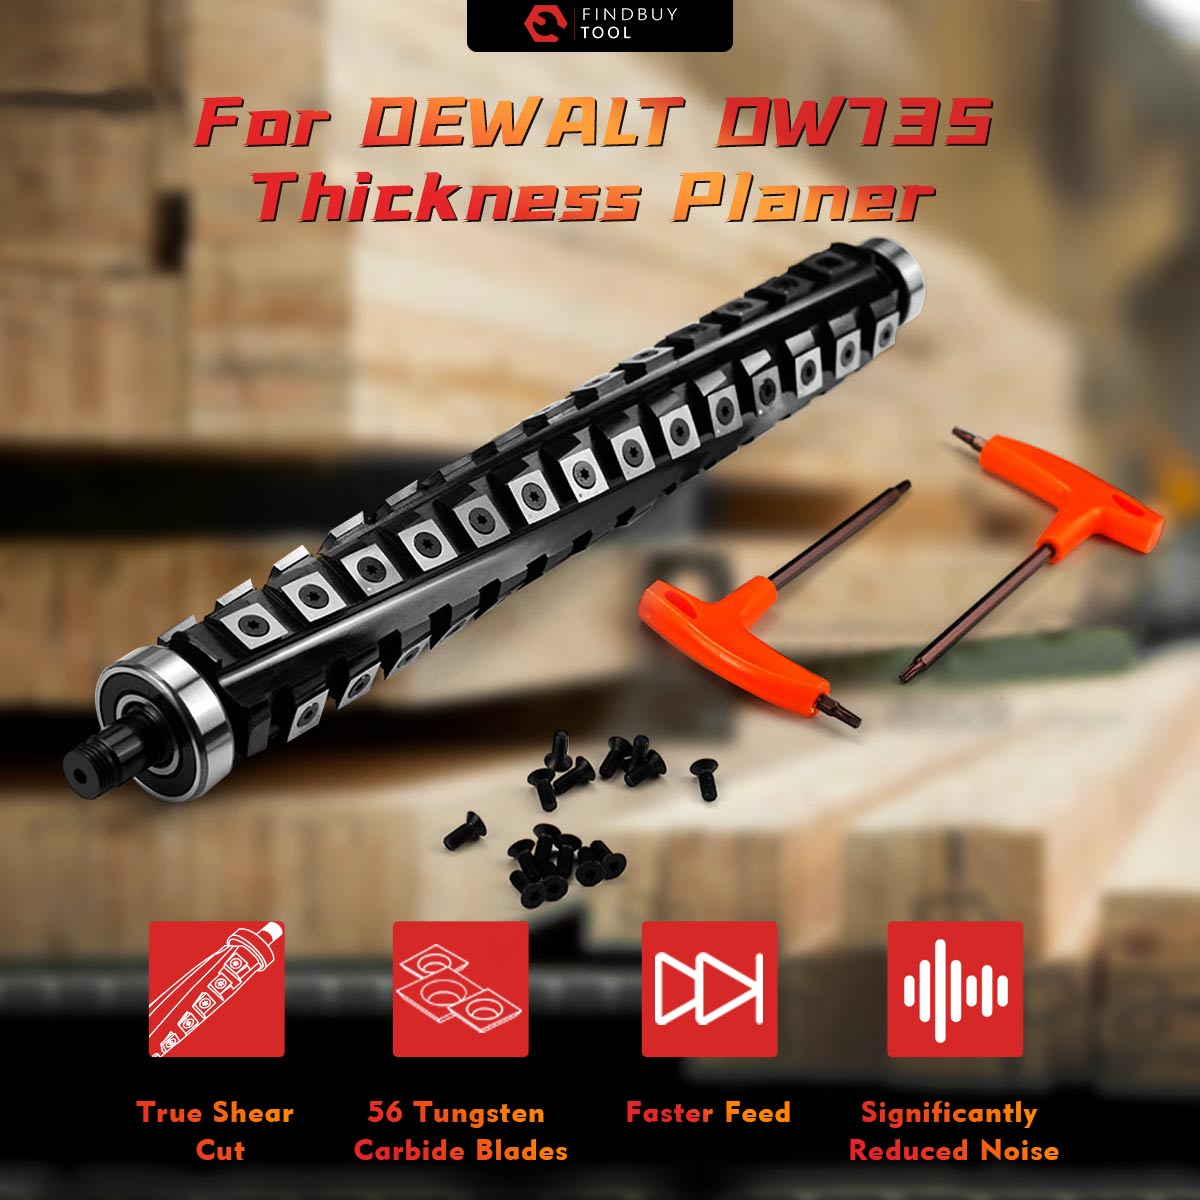
4-Row Helical Cutter Head with 56 Carbide Inserts
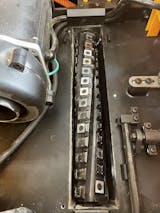
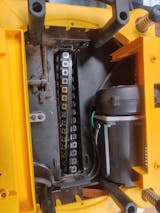
Our helical planer head for dewalt dw735 planer features a 4-row design with 56 carbide blades for smoother, more efficient planing. Its innovative shearing design produces smaller chips for easier cleanup and improved dust collection. The 56 square Inserts last 40 times longer than traditional high-speed steel blades, saving you time and money.

Super Smooth Surface Finish
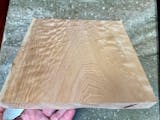
FinBuyTool DW735/ DW735X/ DW735-XE spiral helical cutter head effectively reduces snipe and tear-out, creating amzing wood finishes. As the reduced blade-to-wood contact during cutting reduces vibration. So whether working with hardwood or softwood, this spiral cutter head delivers better results than straight cutterhead.
Features of Helical Cutting Head
Why our 4-Edge Round-Corner Carbide Insert Knife is better?
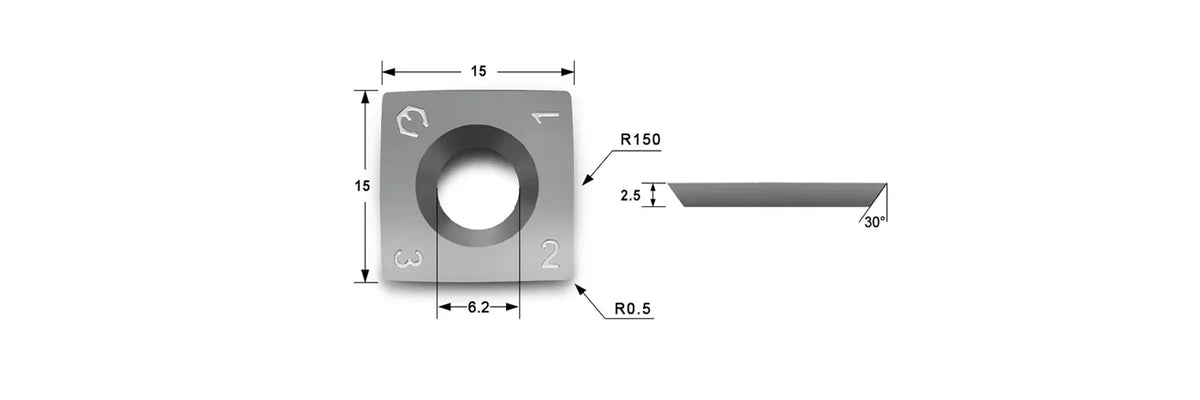

- Our helical planer head for dewalt 735 planer producing much smaller chips and your dust collection system will function more efficiently.
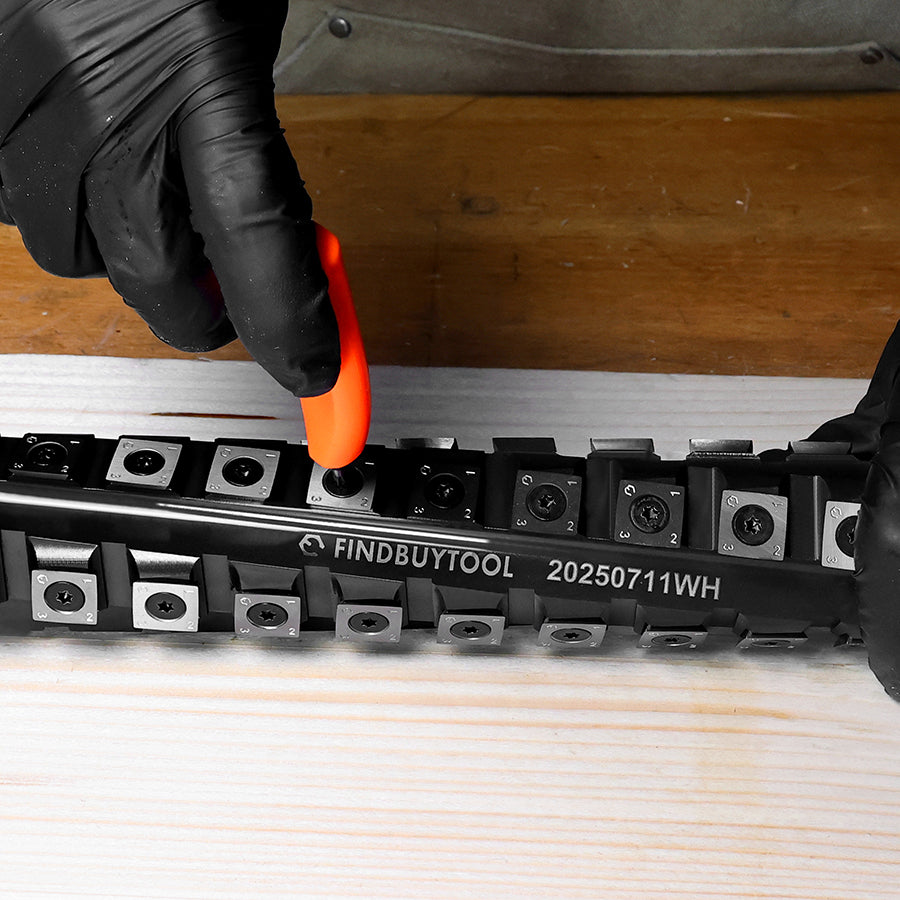
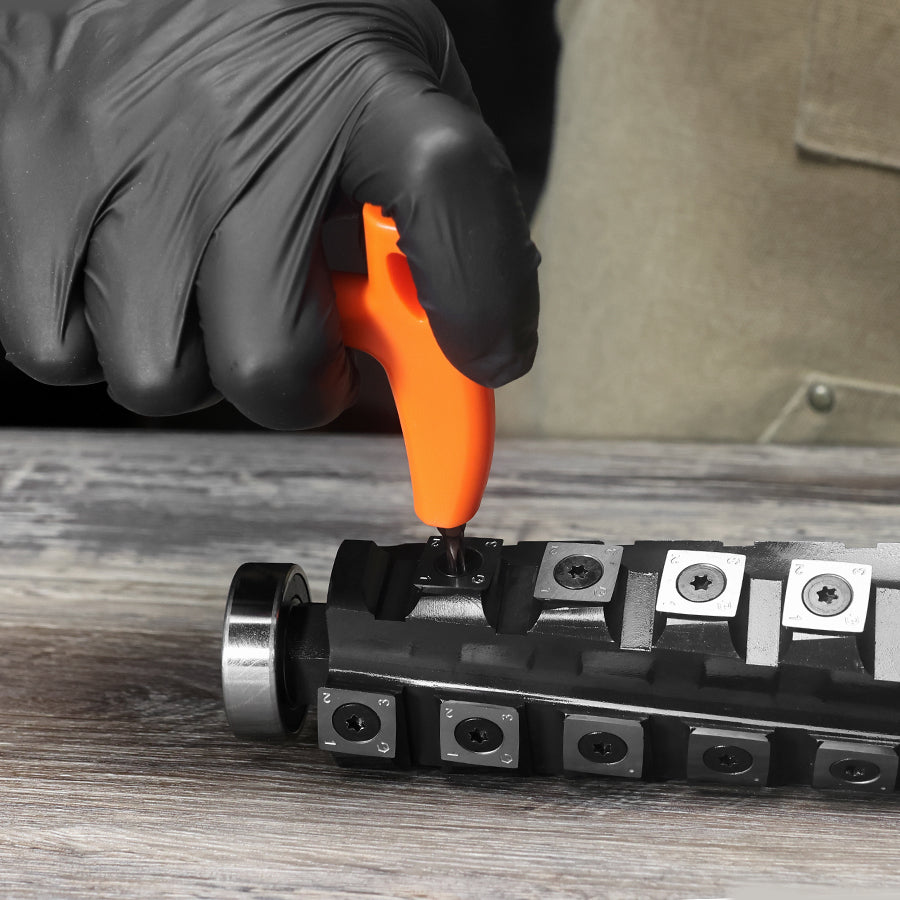
- The recommended torque specification for the cutter is 6 Newton-meters. If you need to replace the carbide blade, first read the installation instructions in the instruction manual.
Straight Cutterhead VS Helical Cutterhead
Happy Woodworkers Share
What's In the Box
-
![Helical Cutterhead for DeWalt DW735/DW735X/DW735-XE Thickness Planer, 4 Rows - FindBuyTool]()
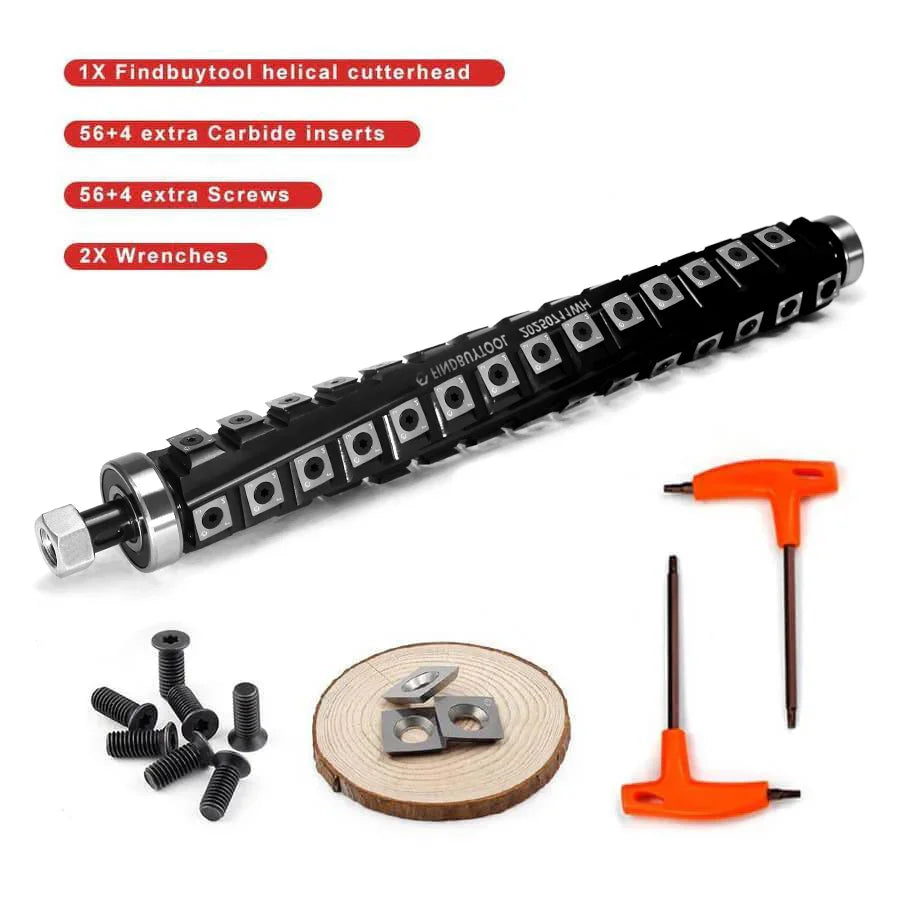
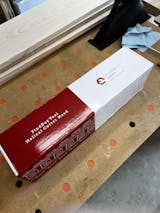
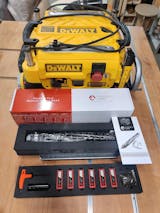
1 x 13" Helical Cutterhead (Bearings Pre-installed)
-
![2 x Wrenches]()
2 x Wrenches
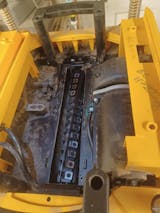
Upgrade your DW735 to helical cutterhead in 30 minutes
FAQS
Is this cutterhead fit both the DeWalt DW735 and DW735X planer?
Is this cutterhead fit both the DeWalt DW735 and DW735X planer?
Yes. The 13 in. FindBuyTool helical cutterhead is a direct drop-in for the DW735, DW735X, and the international DW735-XE. No shims or spacers are required, and the bearings come pre-installed.
What are the benefits of using a dewalt planer dw735x helical cutterhead?
What are the benefits of using a dewalt planer dw735x helical cutterhead?
Helical cutterheads provide a smoother finish on wood, reduce noise during operation, and minimize tear-out. They also allow for multiple rotations of the inserts, extending the lifespan compared to traditional straight blades.
How much quieter is a helical cutterhead compared to the stock straight knives?
How much quieter is a helical cutterhead compared to the stock straight knives?
Our shop and Youtube bloggers have done tests show a 6–8 dB drop —roughly a 50 % perceived noise reduction. You’ll still hear the motor and dust-collector, but the “hammering” knife sound is gone.
How long do Findbuytool 4-edge round-corner carbide inserts last?
How long do Findbuytool 4-edge round-corner carbide inserts last?
Each indexable insert has 4 cutting edges. On typical hardwoods one edge lasts 250–600 board-feet. Rotate 90° when dull. With four edges you can expect 1,000–2,500 board-feet before a complete insert change-out.
How much does your spiral cutterhead for dewalt dw735 weight?
How much does your spiral cutterhead for dewalt dw735 weight?
Our dewalt 735x helical cutter head weighs 9.3 lbs / 4.2kg
How to install a helical cutter head into a DeWalt DW735 Planer
How to install a helical cutter head into a DeWalt DW735 Planer
What's the torque spec for the carbide inserts?
What's the torque spec for the carbide inserts?
6 Newton-meter
Does the helical design improve dust collection of DW735 planer?
Does the helical design improve dust collection of DW735 planer?
Yes. The helical shear produces smaller “micro-chips” that move through a 4″ hose more easily and are less prone to clog cyclone separators, improving overall CFM.
What types of wood can I plane with this helical cutterhead?
What types of wood can I plane with this helical cutterhead?
This head handles everything from soft pine to dense exotics like ipe. The shear cutting action deals with reversing grain and figured maple with significantly less tear-out than straight blades.
Can I replace the insert? What size is it?
Can I replace the insert? What size is it?
Yes, We sell blades separately, click the link below to purchase
What is the shipping time?
What is the shipping time?
Items shipped from the California warehouse typically arrive within 3 to 5 days to U.S. customers, and for other countries, the shipping time is usually between 3 to 10 days
